We've been in this house for three years and only finally got around to changing the loo, it did have to be relocated which may account for some of the delay!
Click on the images for a larger view
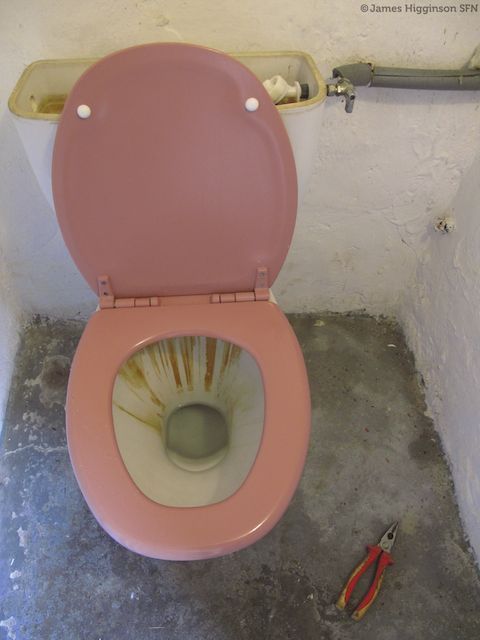
This is what we had when we moved in!
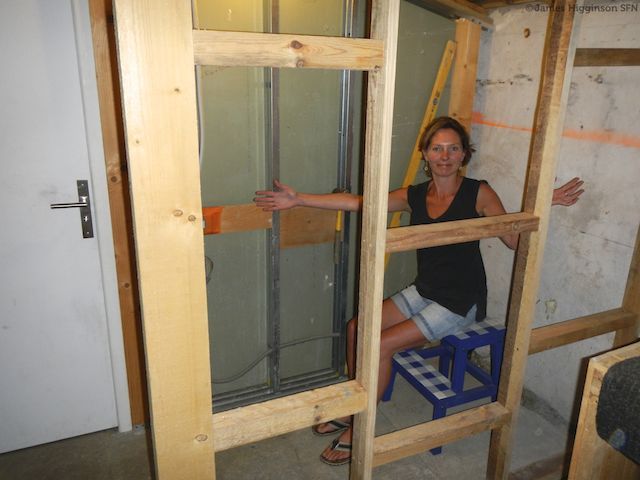
Timber studding in place, this will actually support a wall made from recycled scaffold timber.
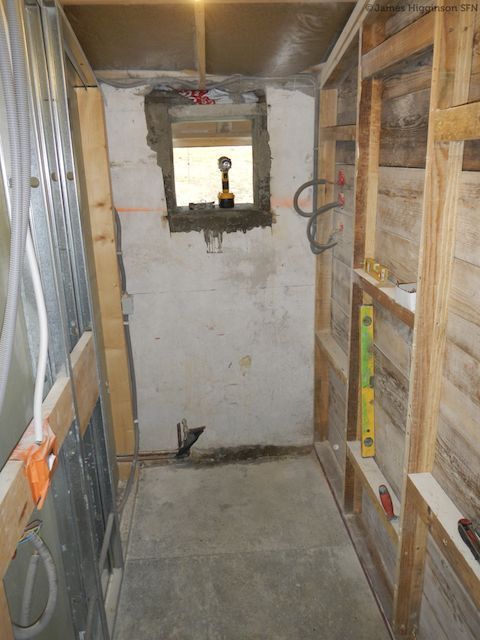
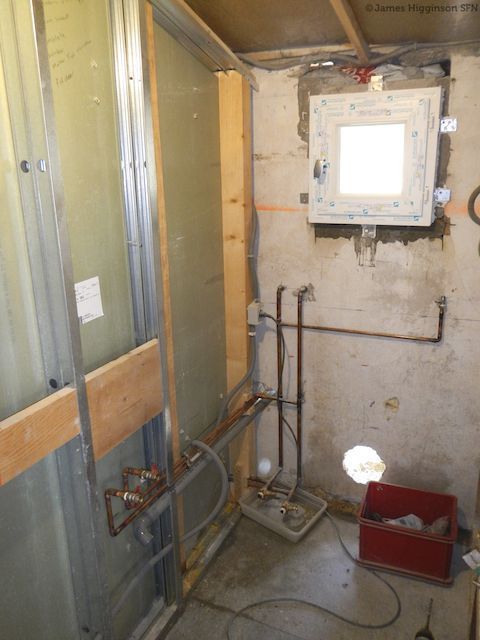
Cutting the opening for the window
Timber side of the wall done
Installed waste for the sink
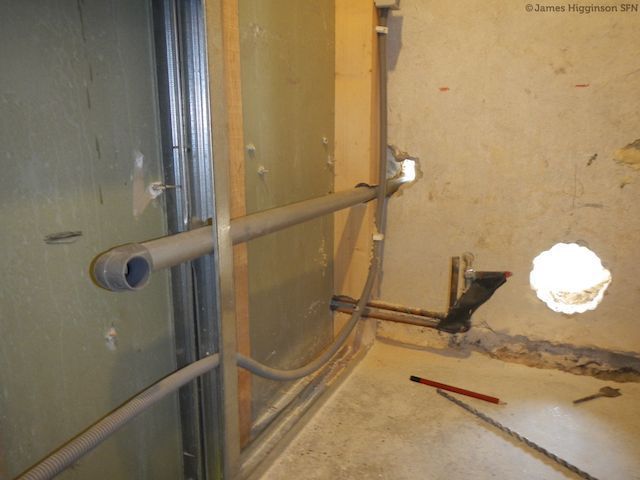
Plumbing goes in for the loo and sink plus a couple of outside taps (hot and cold)
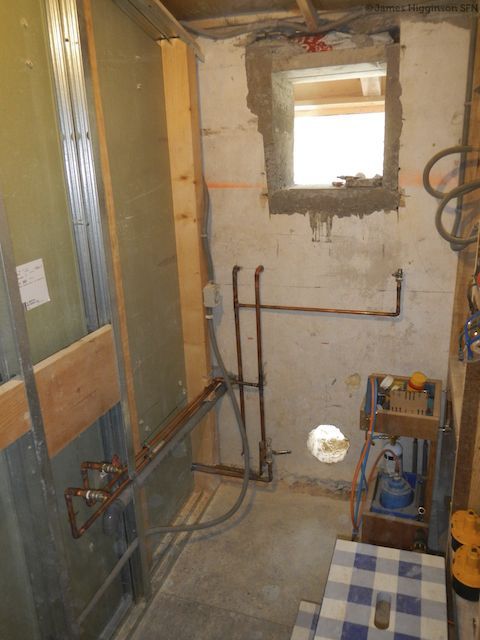
Fixing the leaks in my plumbing!
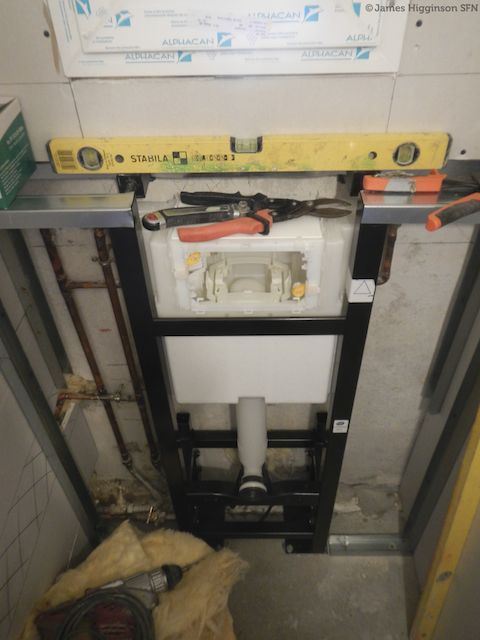
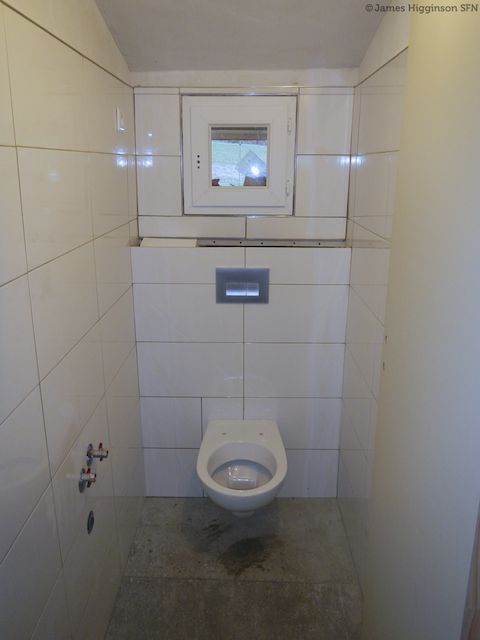
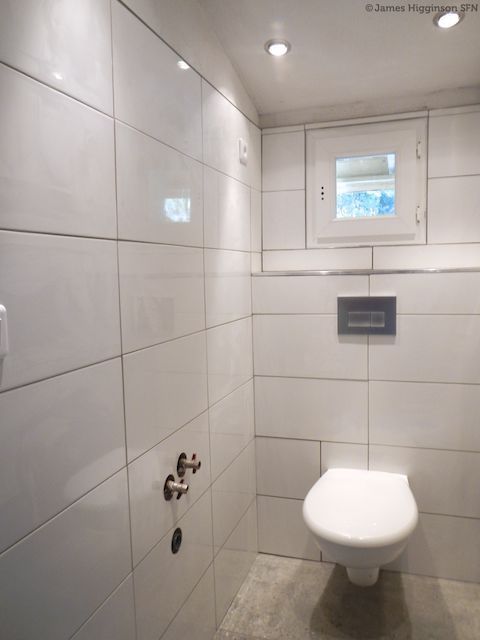
This is the suspended toilet unit, I've bolted it to the wall using 10mm threaded rod and chemical fixing compound so it's very solid
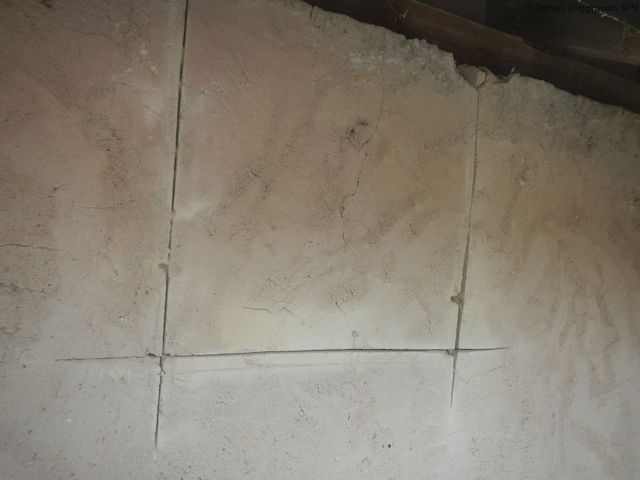
Rendered the ceiling using Weber Pral F 00 which is white, 01 is off white. It's actually an exterior render but my plastering isn't so good and this stuff will allow for some imperfections.

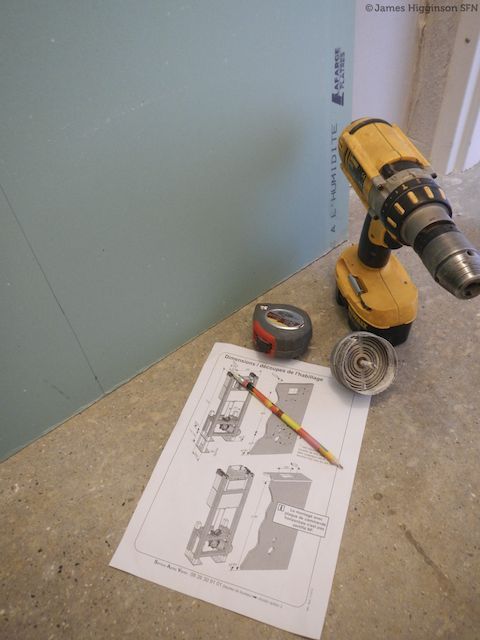
Fitting the plasterboard for behind the toilet using BA18, this is 18mm thick plasterboard instead of the more usual BA13. It will make this section sturdier, it’s green as it is more water resistant that the grey. Called ‘hydrofuge’ in French.

Making sure it's well insulated
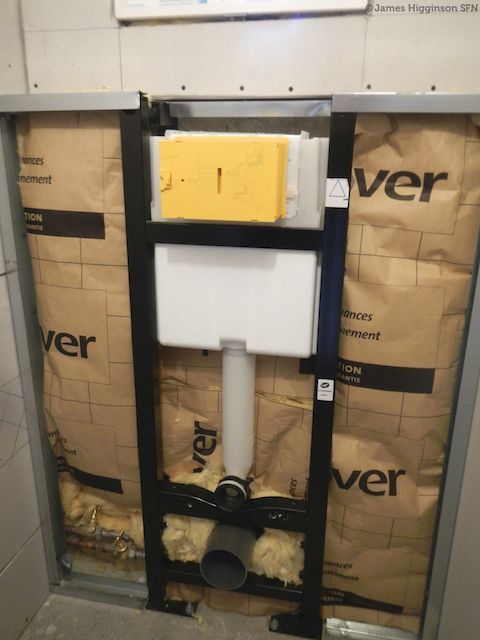
Plasterboard gets fixed, with plenty of screws and some self tapping bolts straight into the frame of the cistern

Tiling can begin, I need to leave tile traps so you can access the plumbing in case of any problems
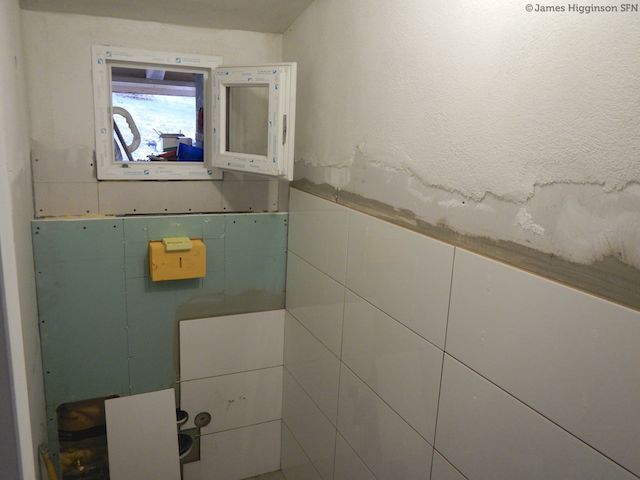
One of the traps is bottom left, those two tiles will just be put into place with silicon so that can be easily removed.
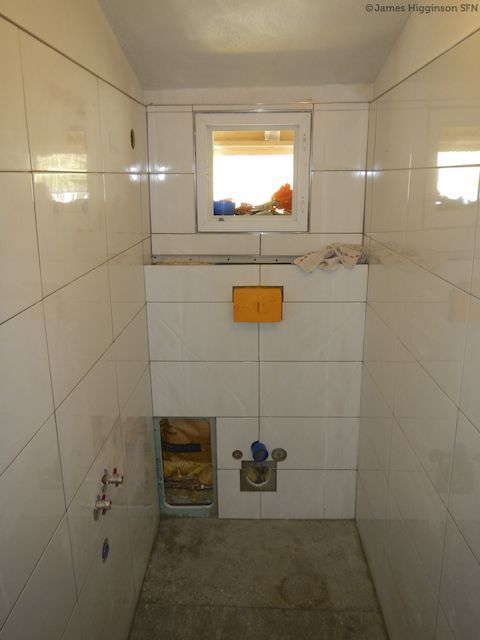
Just need to build the trap for the top of the cistern. I stuck the tiles to a 22mm piece of chipboard, so it can be easily removed
All finished, apart from the sink, that's the next job, building a sink from concrete!
If you have any questions about how any of this was done, just ask in the comments below!
Thanks
James