Avid reader of the posts on here about doing up houses. I am renovating my house part-time at the moment and so got brave and pulled the plaster off the interior wall in my kitchen to reveal the stones beneath. Took all the advice on here and used St Astier chaux 1:3 mix with sand and mortared half the wall yesterday… my trowel skills weren’t up to the task and I ended up pushing it in with my fingers. There’s a tricky corner spot and I’m thinking about using an icing sugar piper to get at that. Anyone tried that? Is it a terrible idea?
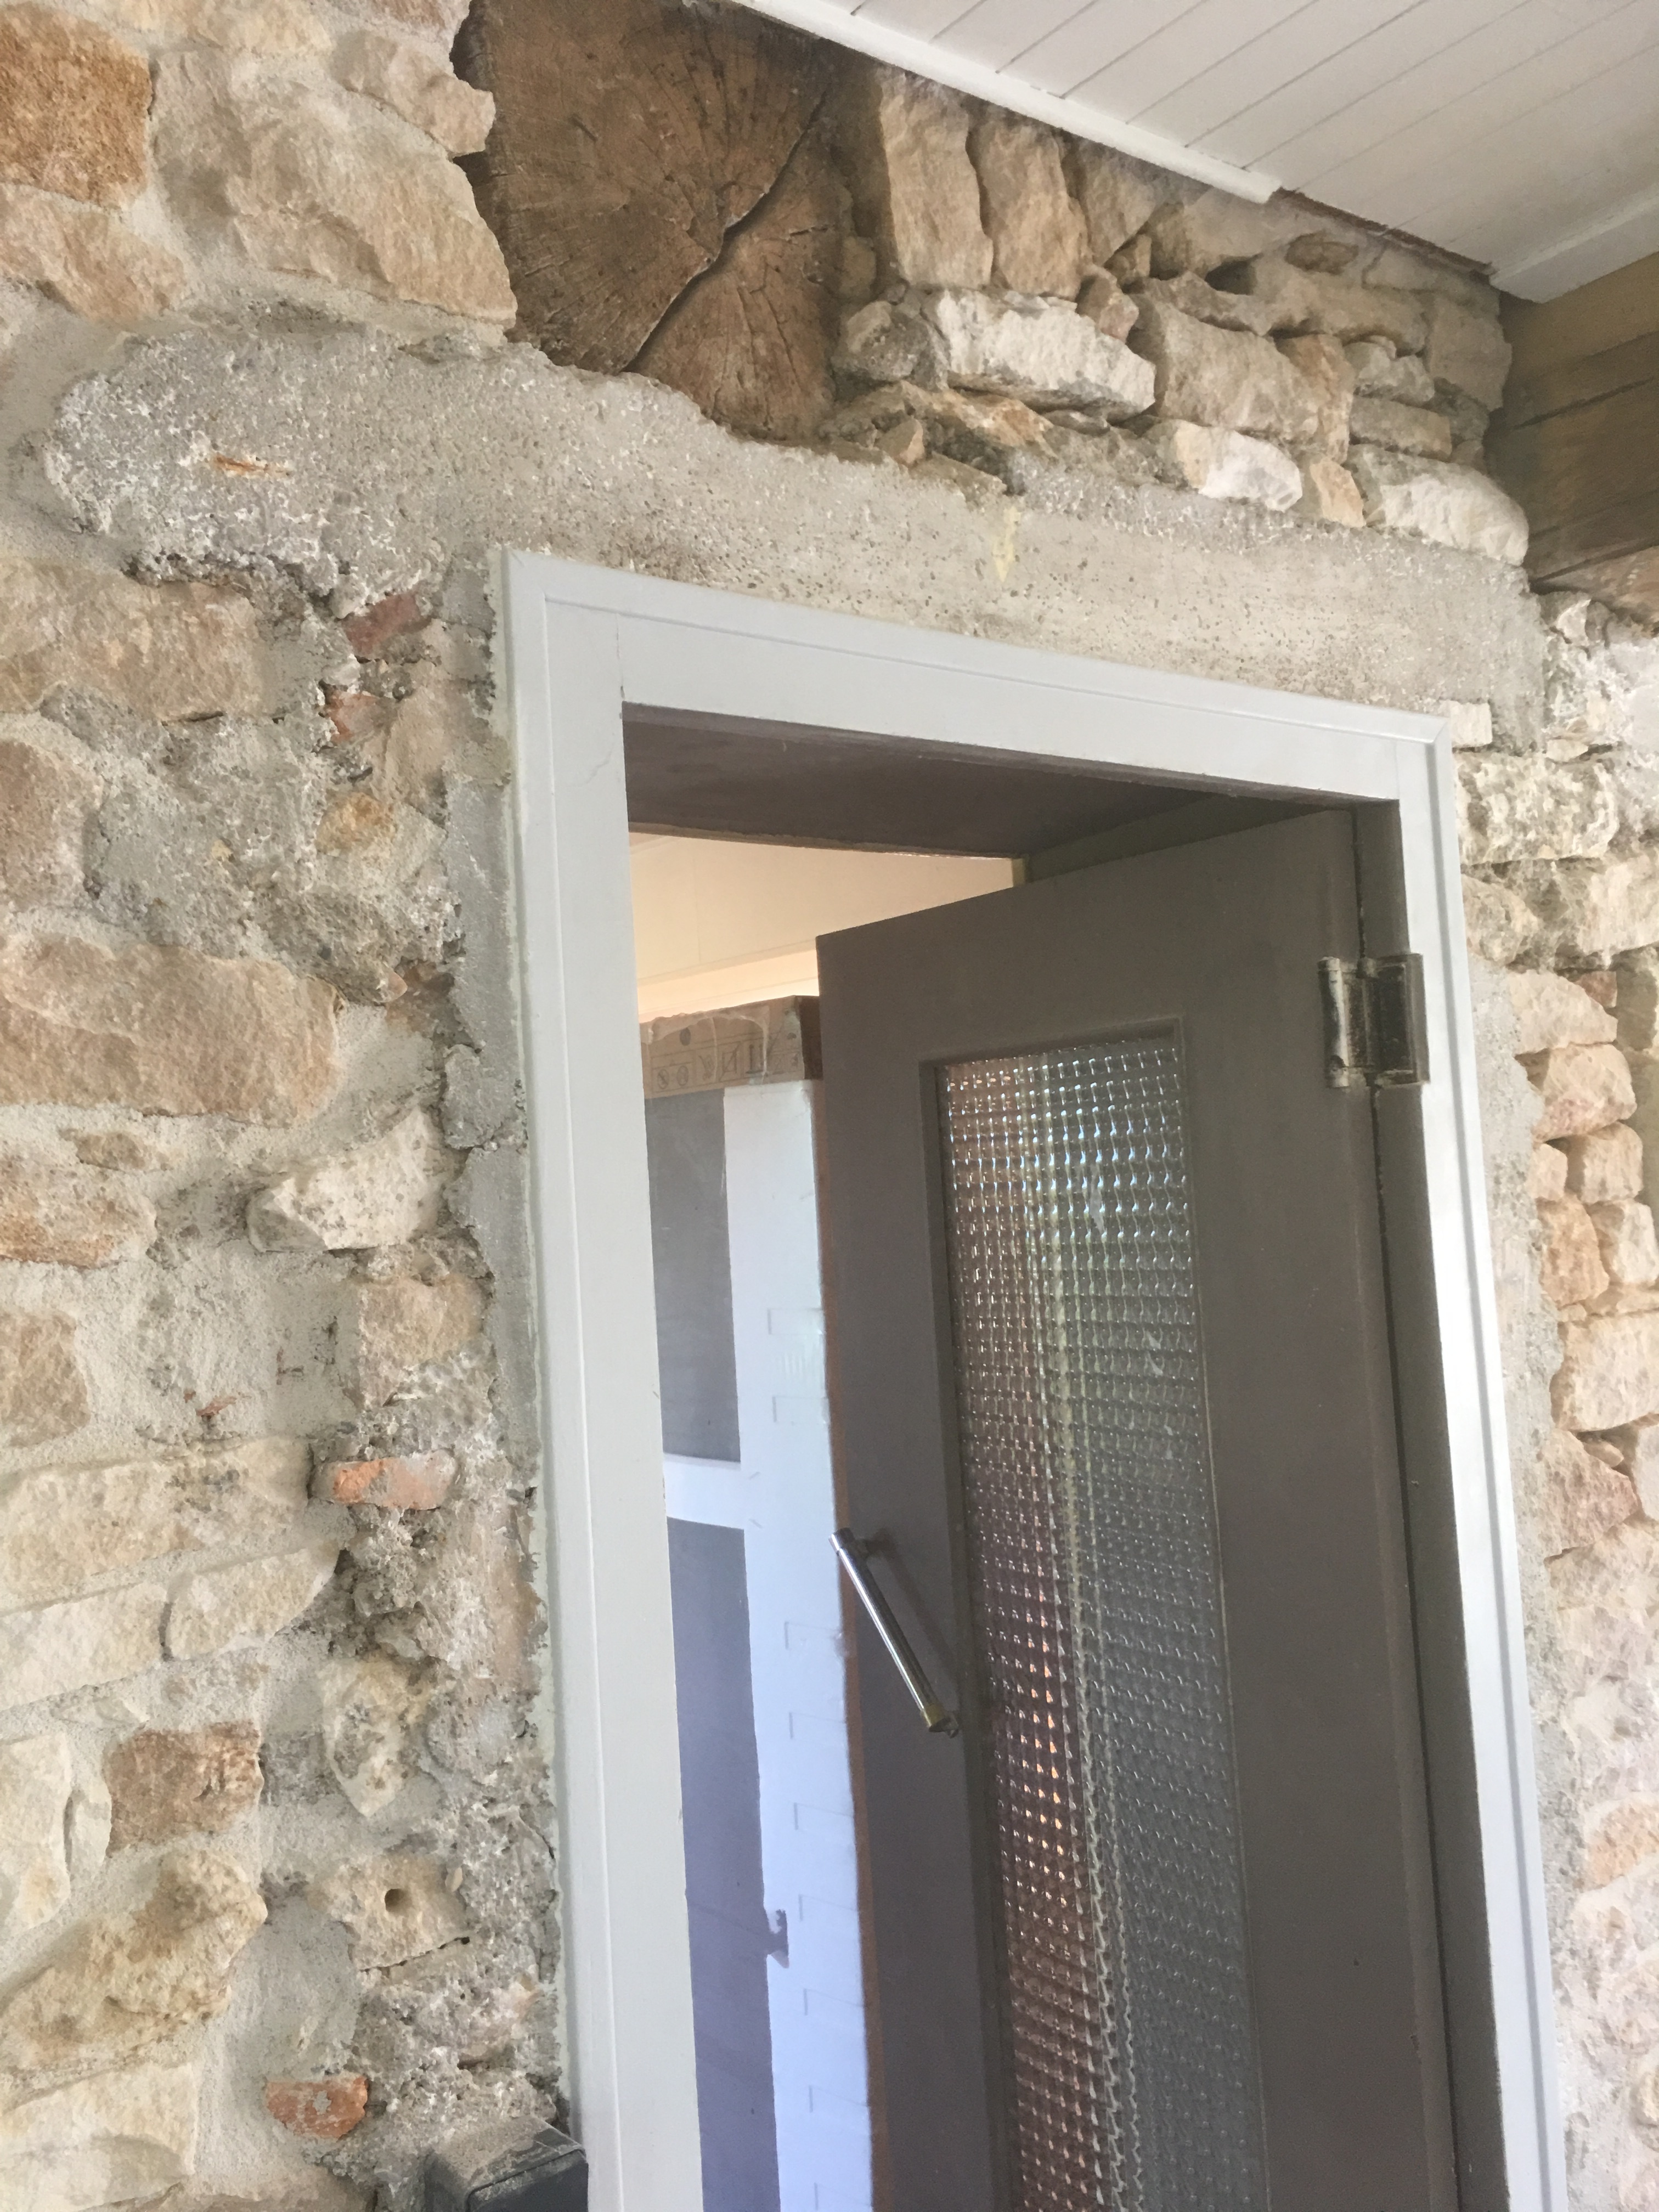
My question is this: the house had been previously ‘renovated’ and a door put through the wall. With a cement/concrete lintel. I had a go yesterday using the same mortar mix to cover it but with mixed success. Should I be using some other lime mix? A plaster or putty perhaps that might go on smoother?
There’s a lot of it but not unmanageably so. It would be nice to blend it with the existing wall.
Here’s my idea, which may well be shouted-down by others, but what the heck.
Rather than trying to cover the concrete lintel, I would hide it with a home-made false beam.
You already have one glorious beam-end above the door and it should not be too difficult to put a piece of oak to “cover/hide” the concrete. Properly done, it gives the impression of a sturdy oak lintel set into the wall.
Oh has done this sort of camouflaging in various houses over the years.
Good idea Stella, bit of old oak, sanded and waxed.
For the pointing, it’s probably a bit coarse to go in an icing bag. Just a question of technique - use the underside of your pointing trowel and always use an upwards (or sideways) motion. The mix should not be too dry, but wet enough so it doesn’t fall off the trowel, but not too wet or it gets very messy. A spot board/taloche is always useful, helps to catch the stuff that falls out.
Persevere at it
Consistency of the mix is important, so is pre wetting of the wall. I generally use 1:2.5, throwing it in to the gaps aids stiction as it gives some compaction.
I hadn’t thought of that! That is an excellent idea and I already know someone very good with wood. My beams were all boxed off and I/he exposed and cleaned them. Of wallpaper and yellow paint below!
I think that would look lovely. And I’d already decided to take away the door. So a new faux-beam and matching doorway would look great. Thank you!
John, when you say throwing, do you literally mean throwing? I’ve seen that phrase before but I assumed it meant pushing it in by hand. I have visions of standing back and going for it cricket-style with ‘throwing’. Can’t imagine how much gets everywhere else! It was bad enough when I had my board up against the joint and was pushing/handling it in. Lots of floor splashing!
Throwing is more a flick of the trowel. In the UK you might use a harling trowel or a scoop shape trowel, doesn’t have to be hard and to keep you focused improve your target practice! You’ll soon be accurate and it’s fun. One major plus with lime, you scoop up what you drop, add a little water and re use, can’t do that with cement!
Using a solution of 10% PVA and 90% water as your mixing agent will improve adhesion by making the mix a bit stickier.
As John has said, pre-wetting the wall is essential. For a very dry interior wall you need to give it a real good soaking the evening before your work day, wet it again before you start in the morning, and keep repeating as necessary during the day. The surface MUST be damp in order to obtain good adhesion. Using a garden sprayer is a good way of doing it and of making sure that you get the water right inside any deep joins or holes.
There are larger versions of ‘icing bags’ sold at the builders merchants / Brico stores specifically for this job. The ‘icing bag’ technique aids the filling of deep holes / fissures while keeping the surrounding surface relatively clean. The bags are specifically intended for use where the surface of the larger stones is to left visible.
I also think Stella’s suggestion of creating a false lintel front in wood is an excellent idea. Probably good to make it a bit bigger than the lintel so that the fixing can be done into the stonework instead of into the lintel itself, as the latter may well have been constructed using some very hard reinforced concrete that could prove problematic to drill into.
Have fun and enjoy. I’m sure it will look really super once finished.
The only time I use PVA is to put on a block wall prior to rendering. Lime mortar is sticky enough for pointing without putting PVA in (IMO), provided the consistency is good.
If the lime mortar isn’t sticky enough the mix is wrong, no need to add anything and it is counter productive in most cases. PVA is used in gypsum plastering to stop high suction substrates drying the mix too quickly.
I would not use 3:1 mix, it’s too weak (insufficient binder)
Hi Stella,
I’m away from the house now unfortunately and won’t be back for about 6 weeks. Meantime, more beams are being exposed while I’m gone. I have to do it in baby-steps since I’m only there about half the year…
Regina
Buy a pointing gun …readily available on the internet by marques such as ‘Old Faithful’ for about 30 euros. They really speed up the process and cut down on waste and mess.
They are like an industrial icing gun and can be used internally or externally.