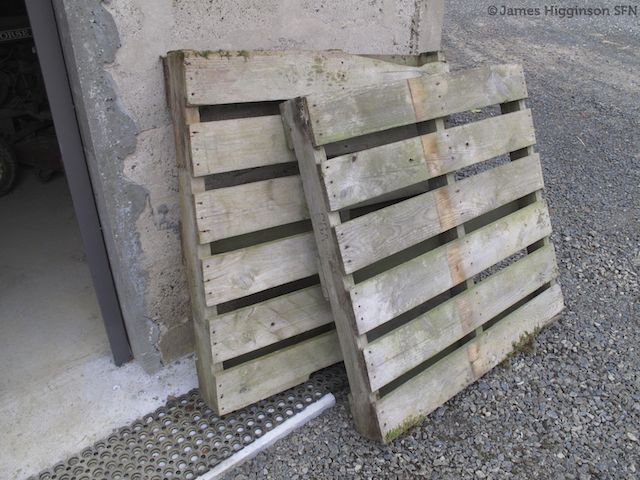
I have a number of quite decent pallets that have been stored outside since 2008, they are sturdy, the ones used to deliver concrete blocks rather than the lightweight type.
They’ve taken on a nice patina of age and yesterday I used a few of them to make a table.
You should be able to pick up pallets at your local tip or ‘decheterie’. If you decide to have a go, please post your projects on SFN as a blog post, or just here in the comments below!
Here’s how I did it;
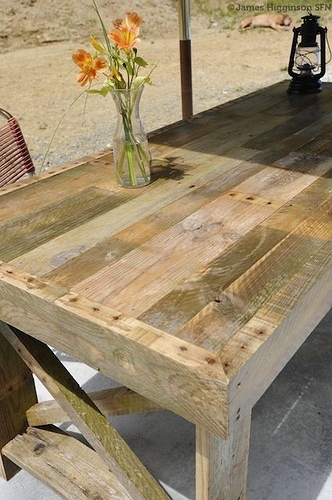
The raw materials, I actually used three in the end.
First I cut the pallets using a table saw, this isn't strictly necessary, you can disassemble them with a hammer and bolster.
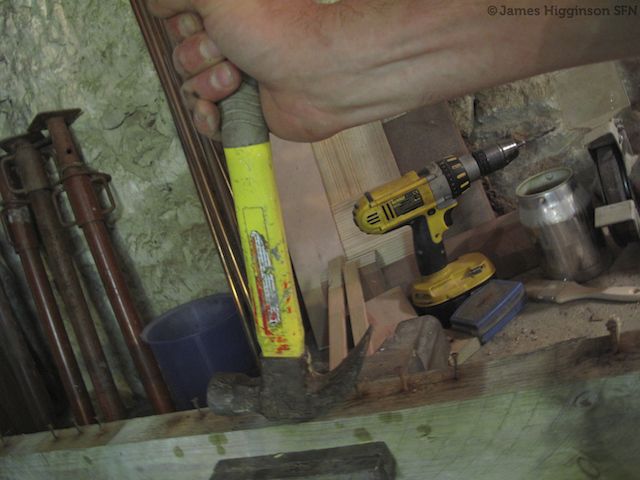
Then I tried removing the nails with a claw hammer, this was useless as most of the rusty heads stripped off and I was left with just the body of the nail still intact.
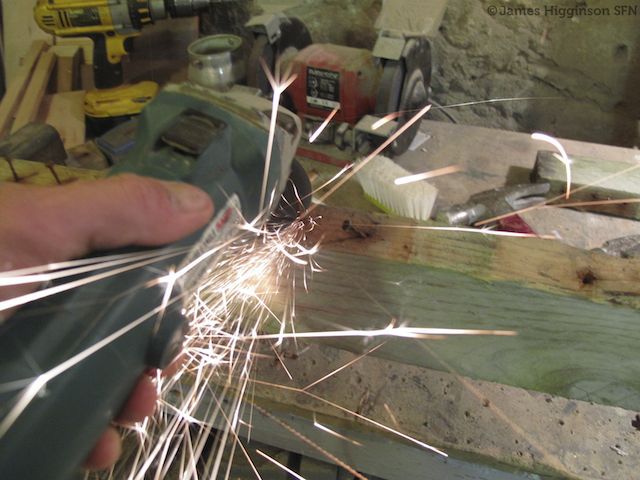
It was much easier and faster to cut them off with an angle grinder. There are loads of them!
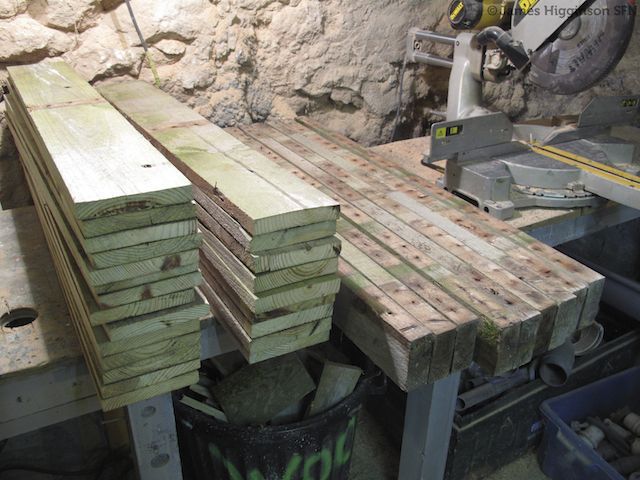
I ran everything through the table saw to trim the edges so that all the boards were exactly the same width, again this step could be skipped if you don't have a table saw. This is the timber I was left with from two pallets, I had to do a third in the end as I was making it up as I went along. I had no initial design, I wanted to have a look at what I had to work with before making and style decisions.
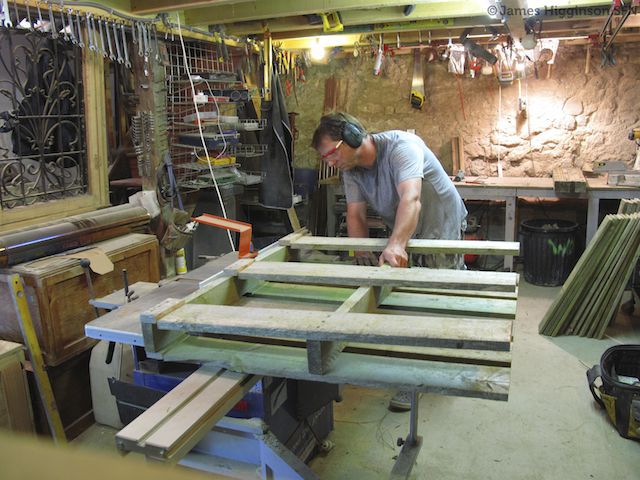
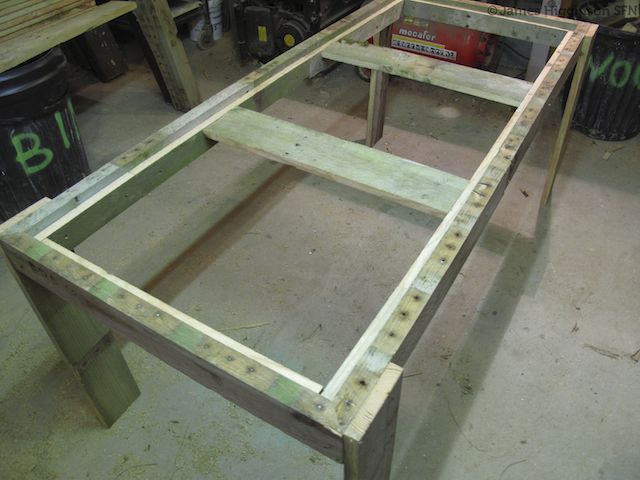
I made a rough sketch primarily so I had some dimensions to work with that would suit the size of the timber I had available and assembled the frame.

Still not decided on how the legs would look, I screwed some on anyway to make working on the table top easier. I've added an inner frame 20mm lower which will hold the boards in place for the top. I was initially intending to place the boards across the table, that would have been easier as they would all have been the same length. I decided they would look better long ways though, so I added a couple of supports.
Then I began gluing and nailing the boards to the inner frame and lateral supports, some screwed from beneath too.
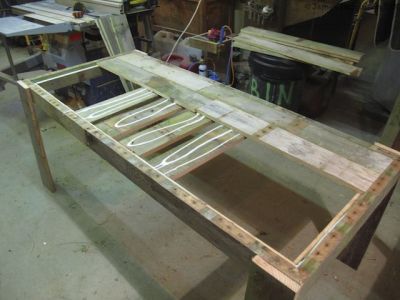
I cut the center ones thinner, so I wasn't left with really narrow strip on one side.
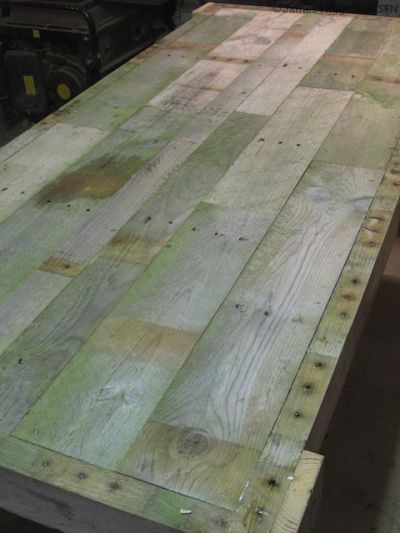
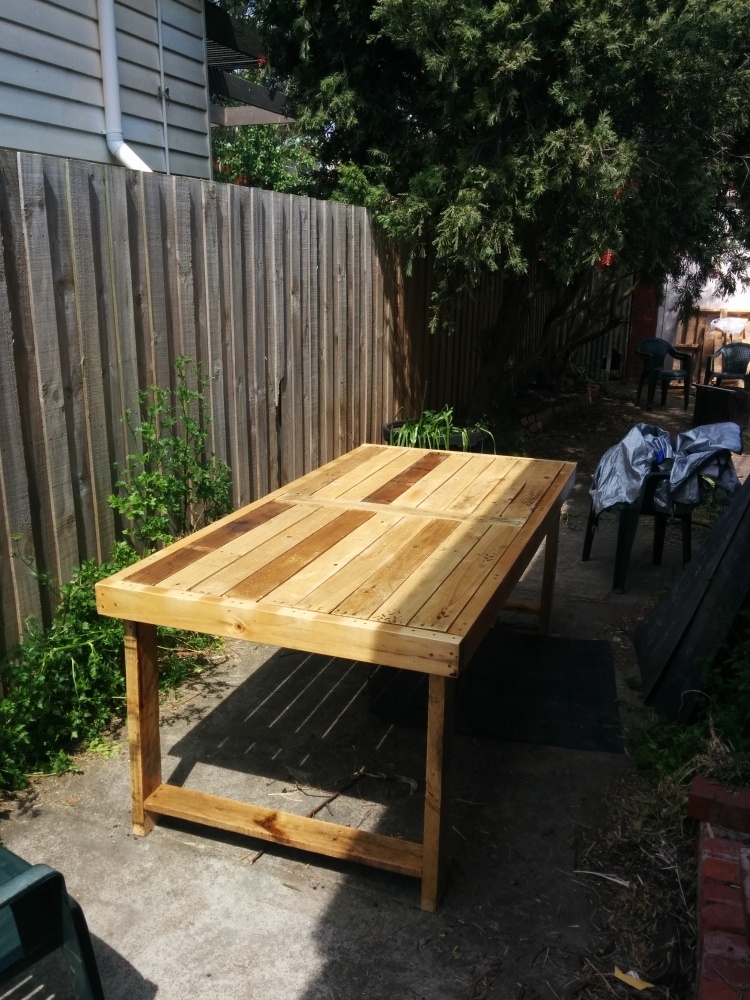
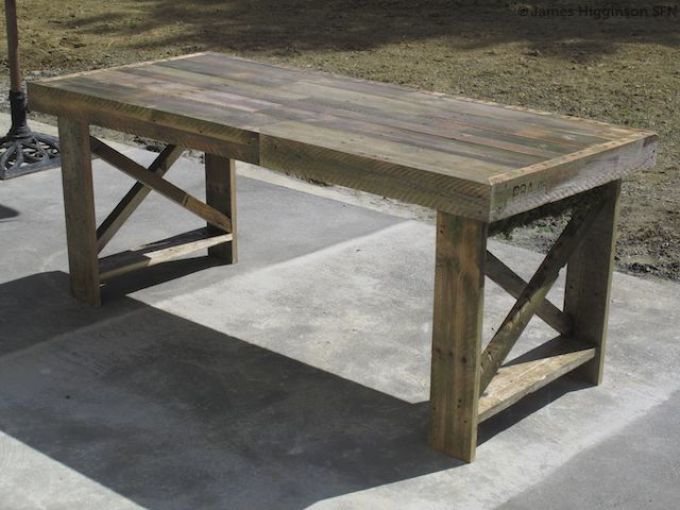
I moved the legs to the inside of the frame and added to braces, they do offer some strength to the table but they are mainly cosmetic. Kept the moss that was growing on one of the boards too!
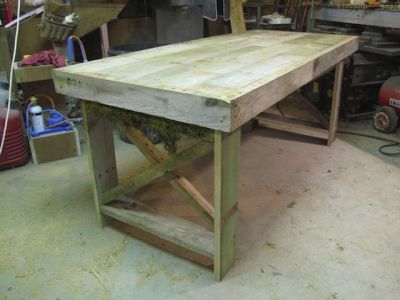
I gave the top a quick sand with 120 grit paper, not too much though as I wanted to retain the patina and gave the whole thing two coats of V33 Aquastop. Done!

Handful of screws and nails, about a fiver!