Thanks for those tips. The important factor in this case is tolerance of difference of height. Like the BAL product, the SIKA will take up to 10mm. The ribs on the shower tray are 3mm, so that had me going for the SIKA. 3mm for the ribs + 3mm for the bed of adhesive …
The tricky bit will be arranging the mosaics to take the 3D curved corners. I shall play with some dry strips before going for it. If p come to s, I can always do the corners 1 tile at a time.
I have laid mosaics horizontally before but this was the first time I’d done vertical. I decided to ‘butter’ the back of the sheet rather than apply a bed to the wall.
That may have been a mistake which resulted in this problem: the weight of the sheet of mosaics stretches the backing, so the lower mosaics have wider gaps to their neighbours above. This makes lining up the rows with the adjacent sheets difficult.
Wiping vigorously and repeatedly upwards will improve matters but I found I either overdid that or, after a few mins, the lower rows had drifted south again.
It may be that applying a bed to the wall eliminates the problem, tho’ sheets of mosaic are quite heavy and the backing will stretch to some degree.
My tip, which I believe will work however the adhesive is applied - to wall or mosaic sheet - is to cut the sheet in half horizontally. It’s easy enough to align a sheet with the one above and the rest of the rows should be evenly spaced.
I won’t attach the customary snap - the results are too shaming. Perhaps I will when, one day, I instal another layer with straight rows.
Well … I’d like to think so and I did use this expression about another part of my refurb project and in that case it must have worked because I can’t remember what it refers to!
But in my mind this one is one of those things that, once seen cannot be ‘un-seen’.
I have invented a grout spreader that goes on the end of a stick. This means that I will not have to kneel down! Denise has been complainin’ big time on dis job. It will become another of my tools-on-a-stick collection. To the right of the towel rad you can see one. A scraper on a stick. It has a 2" paint brush at the other end.
The hallway, the salon/comedor and the kitchen are all tiled in that horrible toast-coloured tile. This is NW France! 50 kms from the Western Approaches of The Atlantic. Why not wood?
Merlin charge €25/m to lay laminate. €1375. Can’t afford that. I spose I’ll have to do it myself ..
More kneeling down
PS. I was going to do those corners today but although I smoothed out the remaining adhesive in the pot to remove air pockets, replaced the film to over the surface and clamped the lid on tight, the last 15% of the stuff had gone solid o/night
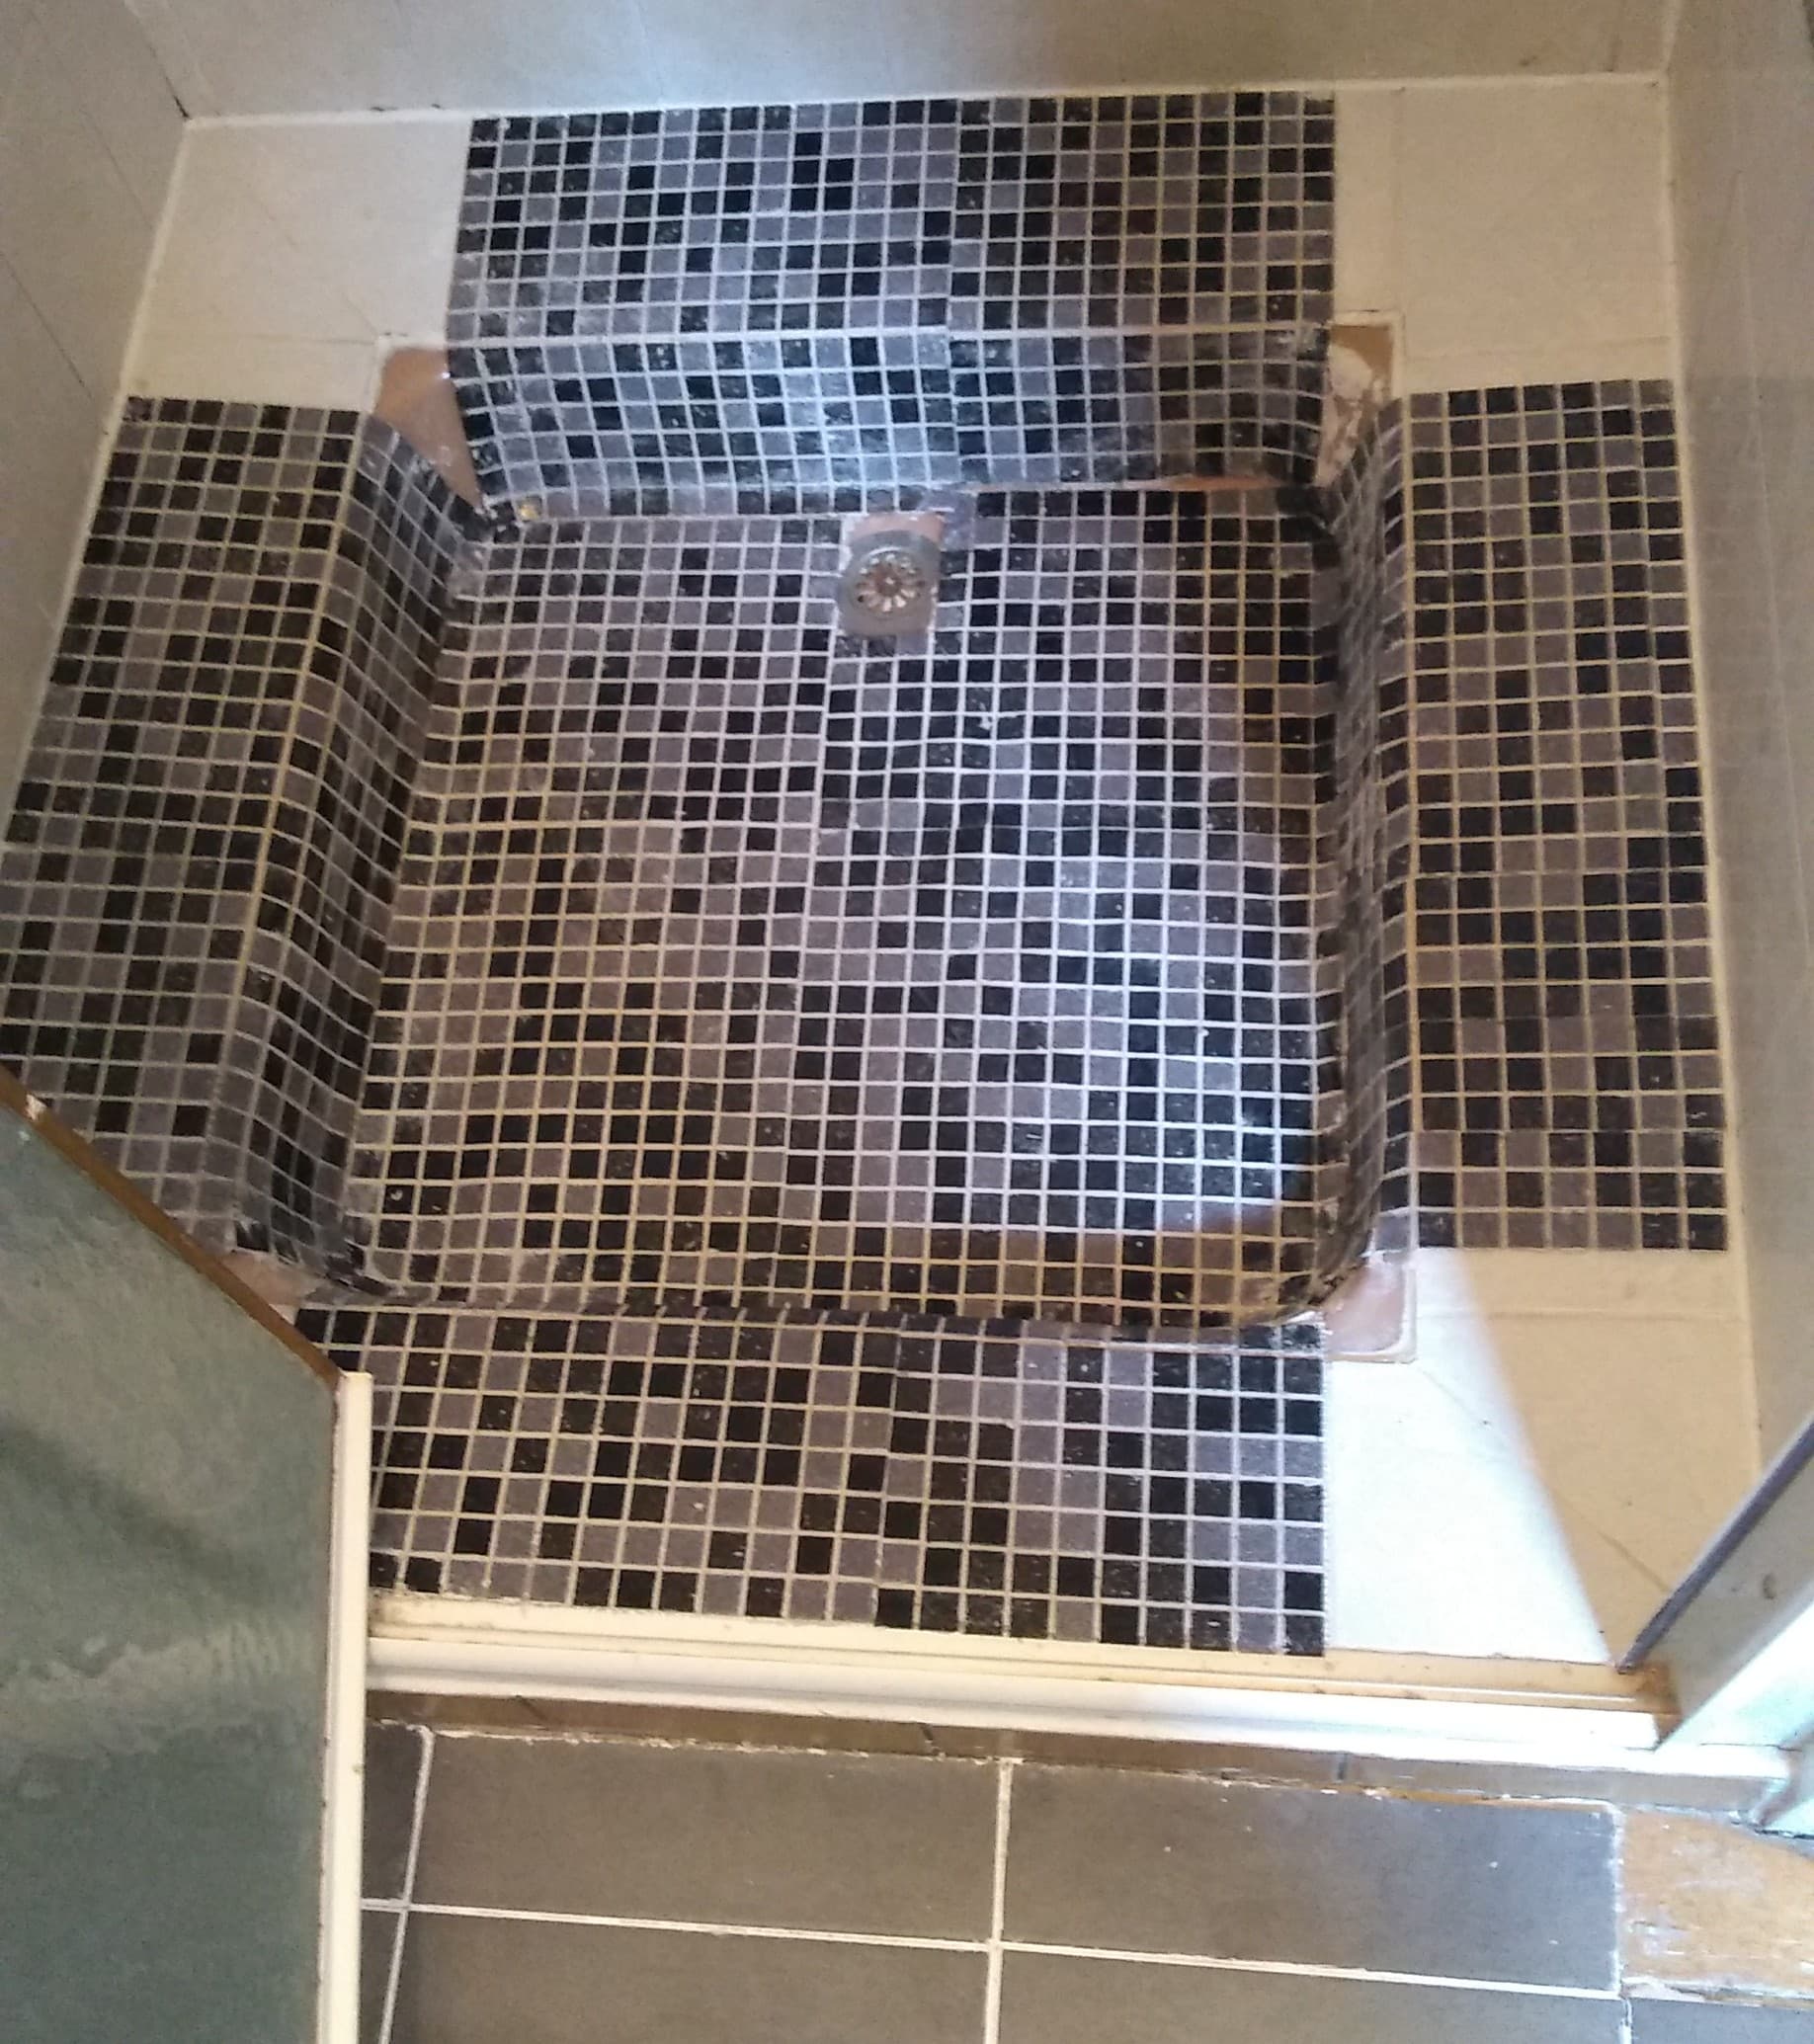
After the long debate above, what I did was to coat the tray with a ‘polyvalent’ primer - looked suspiciously like standard PVA to me - and used SikaCeram®-200 LM
It coped with the 3mm ridges and valleys perfectly well. I should have run the grout spreader along the line of the ridges, not across them. This would have left more adhesive in the valleys, to flatten out the profile but I did both along and across.
But it seems to have worked. The mosaics are well stuck down. The non-slip aspect has gone from lethal to excellent.